❌

Reading view

There are new articles available, click to refresh the page.

horizontal scaling without load balancer

Step 1: Build the necessary AMI image. This image will be used when auto-scale replicates the system.
Step 2: Create a template using the above image. Launch Templates is available under the instances. See image below
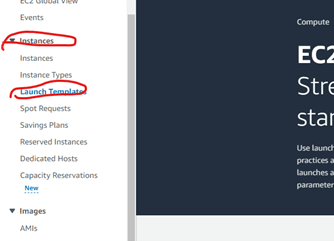
Image description
Step 3: make sure to enable public IP when creating a template
Step 4: create an auto-scale group. Select the template (step 3).
Step 5: Configure the minimum desired capacity (min and max instance you want to run).
Step 6: configure notification if required.
Step 7: Verify whether a new instance was created. AWS should start the new instance.
Step 8: Terminate the new instance. The system will create a new instance.

Add Disk in AWS-Ubuntu instance

How to add a disk in AWS instance

Step 1: Create a new volume from the AWS dashboard. See the image below.
Image description
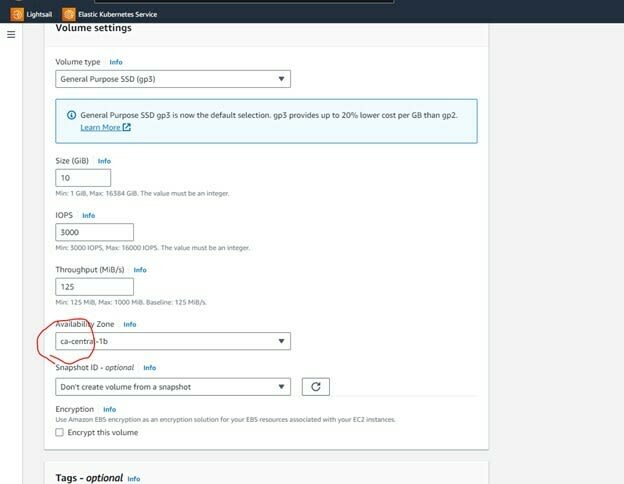
Step 2: Open the Volume instance and set the region and size based on your needs
Image description
Step 3: Attach the volume(disk) with the Ubuntu instance.

Image description

Image description

Step 4: Check whether the new volume shows in the instance by using "lsblk" command.
Image description
step 5: Create a new directory to map the new disk using "mkdir" command. "mkdir /data"
step 6: check whether the file is already mounted using the below command "sudo file -s /dev/xvdf"(xvdfcan be a different name in different systems)
step 6: create a file system and make ext4 format.
"mkfs -t ext4 /dev/xvdf"
step 7: Mount the filesystem into the newly created directory
mount /dev/xvdf /data
step 8: make a entry in /etc/fstab to make the mount permanent
"nano /etc/fstab"
"/dev/xvdf /data ext4 defaults,nofail 0 2"

Create LightSail Instance

How to create LightSail Server and attached a IP

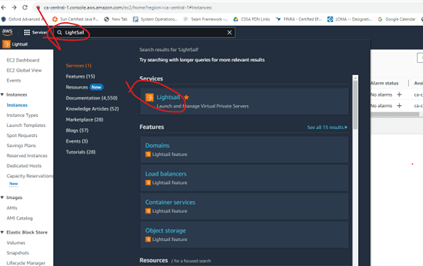
Step 1: Search LightSail in the AWS global search.

Image description
Step 2: In the LightSail home page, Click Create Instance.

Image description
Step 3: select the appropriate Instance based on the need. For study purposes, select Ubuntu22.04.
Step 4: Create an Instance.

Image description

Step 4: in the left navigation menu, click Network and create static IP.
Step 5: Select the appropriate machine to attach the IP and submit.
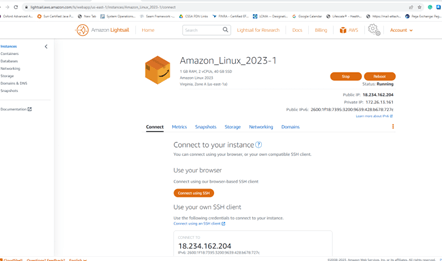
Step 6: IP should be attached.
step 7: Click β€œConnect using SSH” to open the cloud terminal to install the necessary software (ie Apahe2)

Detach and delete IP:
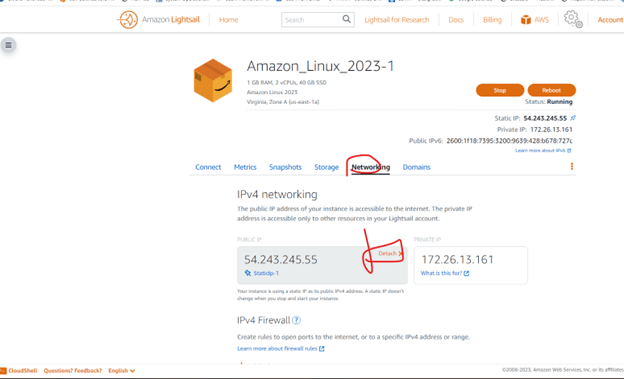
Step 1: Click Network and click the Detach link, and confirm the pop-up window.
Step 2: delete the IP and delete the instance.

Image description

Create EC2 in AWS

How to create a new EC2 Instance in AWS
From the instance menu ( left navigation menu) click Instances and click the
Image descriptionLaunch instance button.

Step 1- Give the name and tag

Image description
Step 2: select the Operating system.
Step 3: Create new key pair and download it.
Step 4: Enabled Allow ssh and HTTP traffic in the firewall(security group). Alternatively, user can enable this from the network security group.
Step 5: Configure the storage information(Default should be fine for learning purposes).
Step 6: Click the Launch instance button.
New instance will be created.

Image description
Step 7: Identify the public and private IP address.
How to install Apache2
Step 1: Click the β€œConnect ” button on the top right corner.

Image description
Step 2 : in the console type : sudo su
Step 3: apt install update
Step 4: apt install apache2
Step 5: systemctl start apach2
Step 6: systemctl enable apache2 (This is to make the Apache to automatically start when the server start).
Step 7 In the browser, type the public IP address and watch whether the Ubuntu home screen loaded.

❌